We hope you enjoy baking (and eating) sourdough as much as we do! We know that at first it can be a bit overwhelming, so we’re here to break down the process and help build your confidence with our 6-steps to a perfect loaf.
For all the budding artisan bakers longing to sink their hands into fleshy dough, The Health Space kitchen has prepared a sourdough bakers guide to help you create crusty loaves at home using our Sourdough Bakers Kit.
Your Kit
The 10 items in your kit will get you baking perfect sourdough bread from scratch. If well cared for, your sourdough starter will provide your own fresh sourdough loaves for years to come.
Organic Sourdough Live Starter 100g
Organic flour for your first starter feed (bag 1)
Organic flour for your first loaf (bag 2)
Sea salt for the first loaf (bag 3)
Organic rice flour for ease of handling your dough (bag 4)
Mixing bowl
Wooden spoon
Dough Scraper
Proving Basket
Scoring Blade to score your dough
Sourdough Bread Making Guide
-
Your Live Starter will need to be given a little TLC, but with minimal effort it will be providing you with loaves for years to come.
Depending on how often you use your starter will ultimately depend on whether you wish to keep it on the side of your counter or choose to refrigerate. Refrigerating will mean your starter only needs feeding once a week, or on the day you bake. You do need to be committed to feeding your starter once a week. If you keep it on the side, it will need feeding once or twice a day (the warmer the room, the faster the fermentation process and the more it will need feeding – I feed it once a day in winter and twice a day in summer).
Maintaining your sourdough starter at room temperature
Step 1: Stir the starter well, and discard all but 100g which you will place into a clean, fresh jar (400-500g no bigger or smaller)
Step 2: Add 100g room temperature water (approx. 26°C), along with 100g unbleached all-purpose flour OR flour to the starter. If you choose to use alternative flour, then timings must be slightly adjusted as ingredients will break down a lot faster.
Step 3: Mix all ingredients together until smooth and cover with either the lid of the jar or some cling film. Remember, the starter can double or triple its size when it becomes active, so be sure to put in a big enough jar!
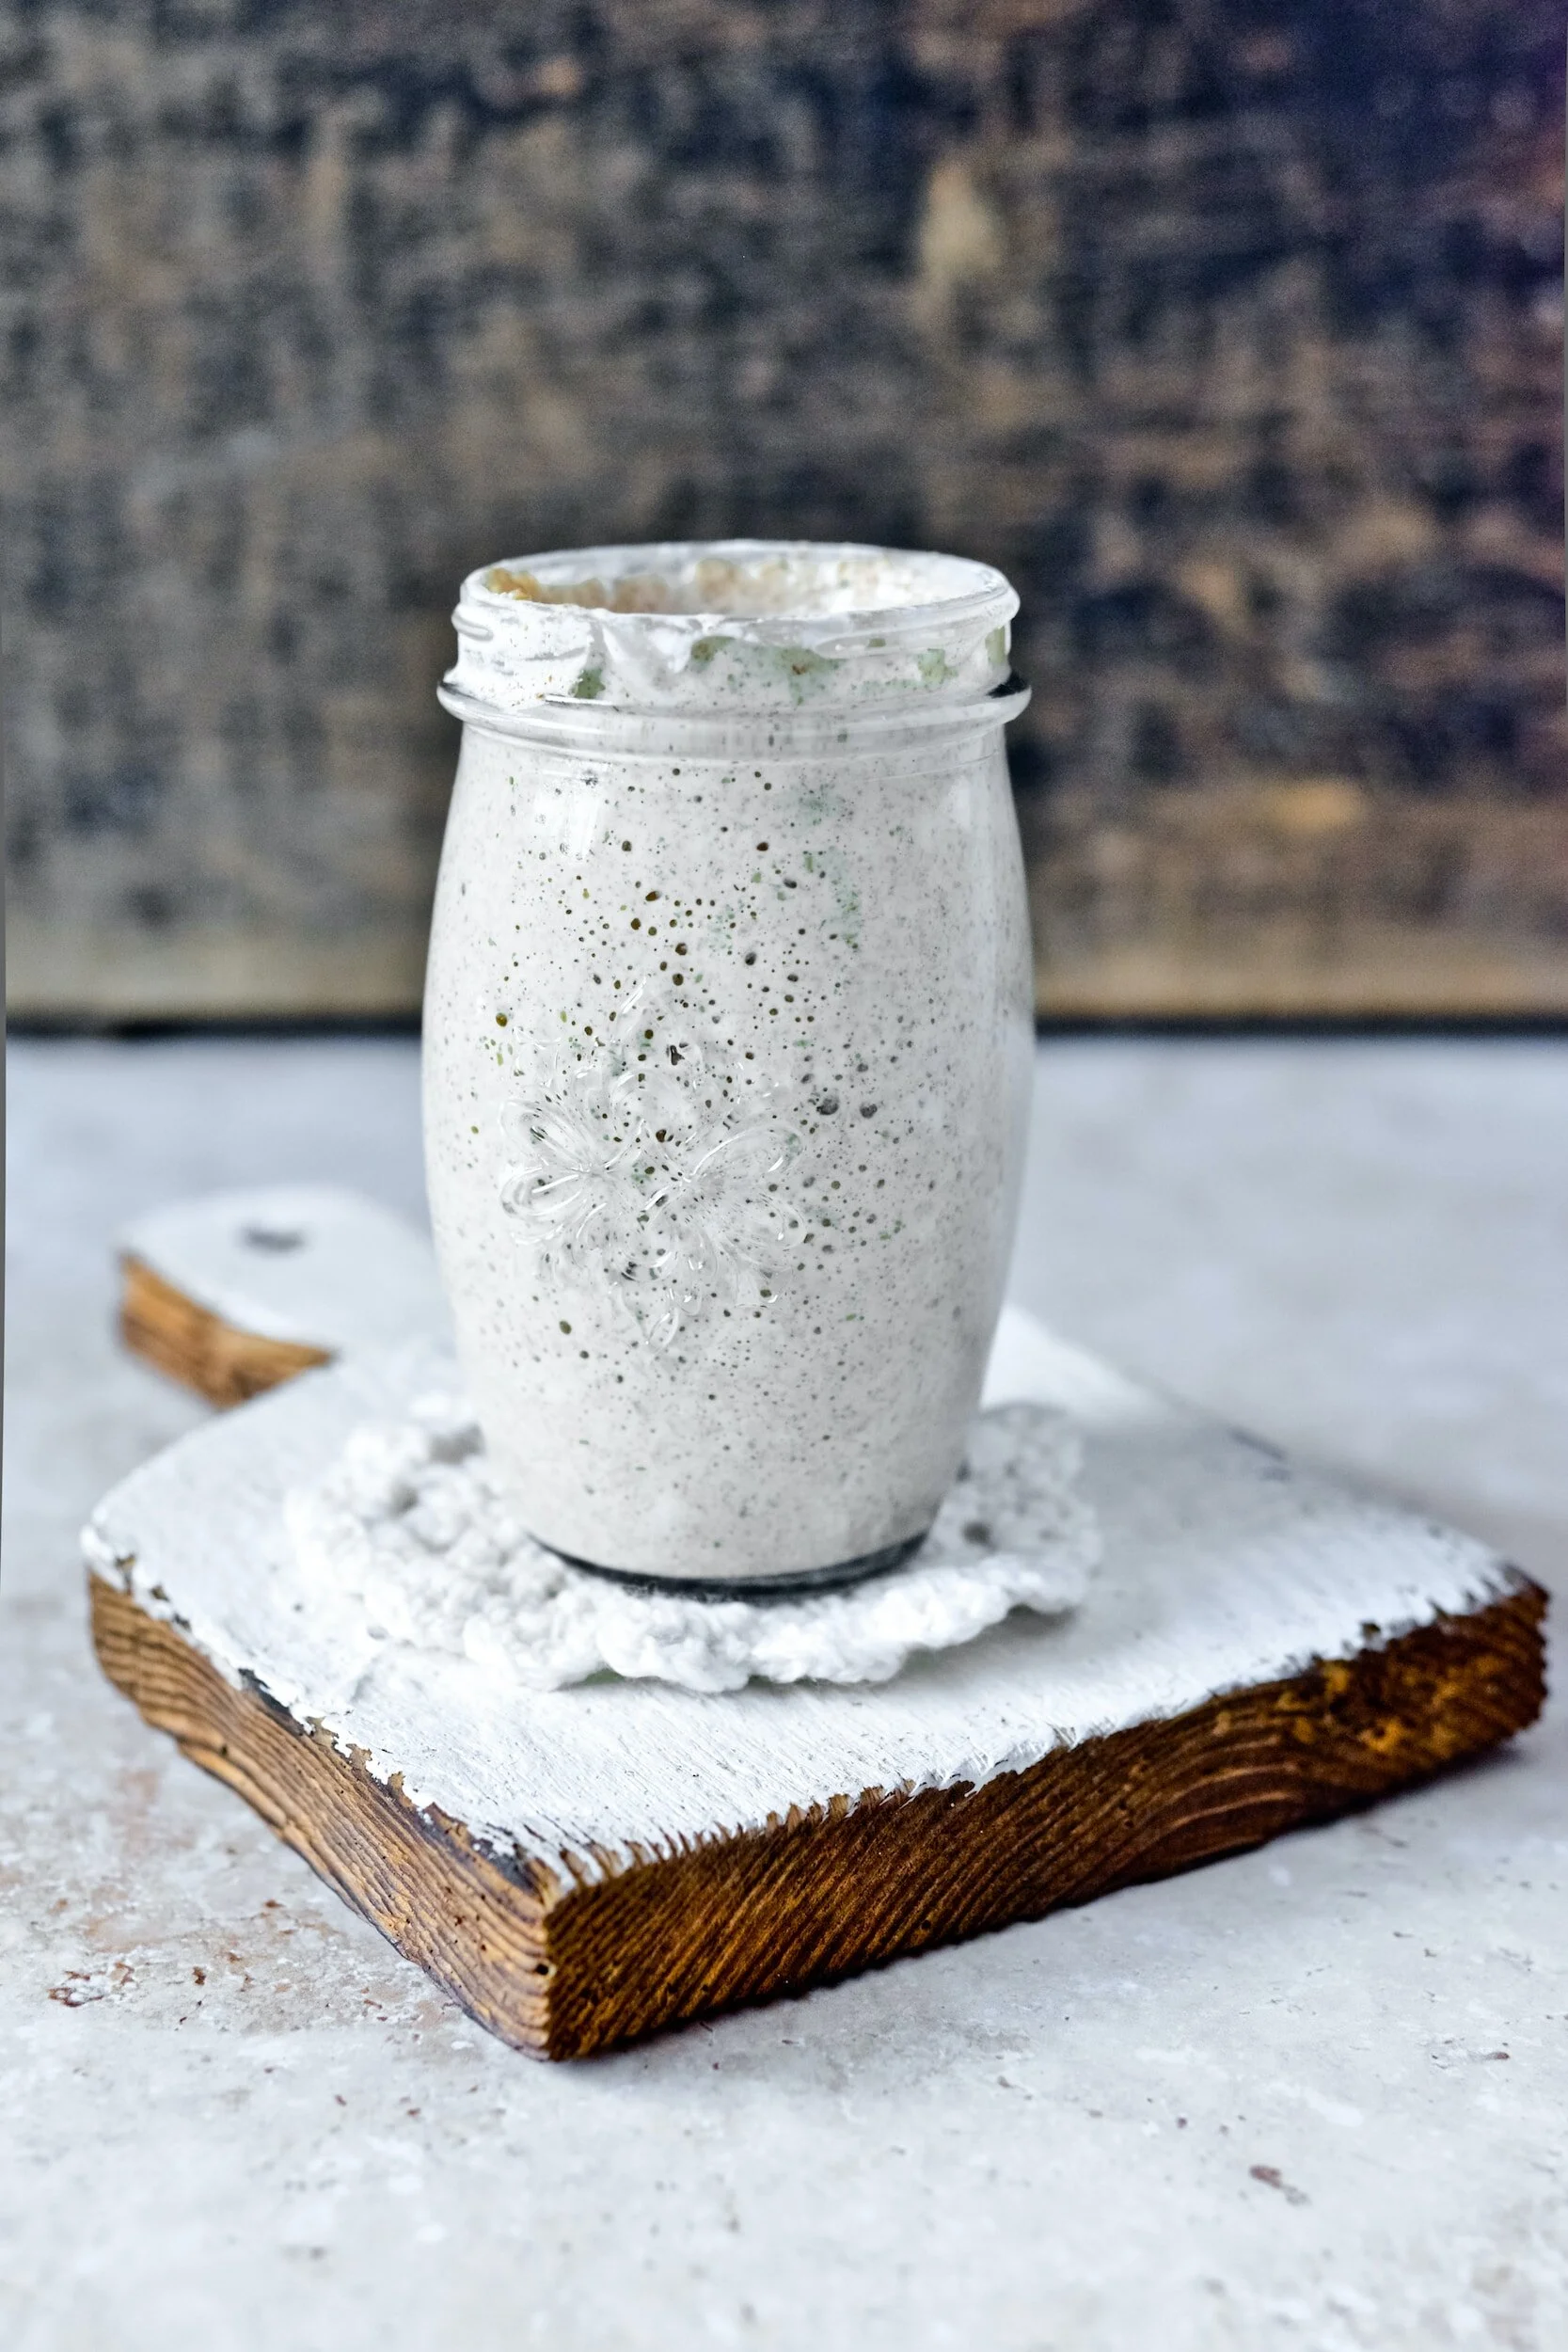
Your starter will bubble and grow, then the starter will gradually sink as it awaits its next feeding - as it is sinking, it is forming essential acids.
This whole process will take anywhere from a couple of hours to all day, depending on the health of your starter and the temperature of your house. The rule is: the colder the environment, the slower your starter will grow. If the normal temperature in your home is below 26°C, I suggest finding a smaller, warmer spot to develop your starter; but, do not place your starter in direct sunlight.
Maintaining your sourdough starter in the refrigerator
For most home bakers, daily feeding is impractical, so you'll need to store your starter in the refrigerator and feed it once a week. To feed, take the starter out of the fridge. If you're feeding it weekly, it will probably appear a bit frothy; there may be a bit of light amber or clear liquid on top (otherwise known as hooch). Either drain this liquid off or stir it in, it’s entirely your choice. This residue is alcohol from the fermentation process.
Step 1: Stir the starter well, and discard all but 100g which you will place into a clean, fresh jar (400-500g no bigger or smaller)
Step 2: Then, add 100g room temperature water (approx. 26°C), 100g unbleached all-purpose flour OR flour to the starter. And, as I mentioned before, if you do choose to use alternative flour then be aware that timings have to be slightly adjusted as they break down a lot faster.
Step 3: Next, you will need to mix until smooth, and proceed to cover with either the lid or cling film. The starter will expand to twice or even triple its original size but if your jar is too big the starter will not rise as too much gas in the jar effects its activity/conditions.
Step 4: Make sure that you allow the starter to rest at room temperature (preferably about 26°C) for 2-4 hours, until it shows signs of life. This gives the bacteria a chance to warm up and get feeding.
Step 5: Once it has started to bubble, refrigerate it, unless you are planning on using it. If you are planning on using it jump to the next section.
-
The starter needs to be fed in the morning, there are many variables that can dictate the ratio of your feed, but my preferred ratio is with a 1:1:1 (100g starter : 100g Flour : 100g Water) my preference is to use Organic White Bread Flour.
Your jar of live starter contains 100g, so simply add the contents of bag 1 (100g of Organic white bread flour) and 100mls of room temperature water. It should double/triple in size within 4-6 hours depending on the room temperature (the warmer it is the quicker it will ferment).
-
Take the guess work out of knowing if the starter is ready with this simple check. Take a small bowl of tap water, drop 1 dessert spoon of the starter – if it floats it’s ready. If it sinks it may be under fermented or over fermented, whilst you’re getting to know how your starter reacts it’s best to start checking after 4 hours and then every hour until it floats.
-
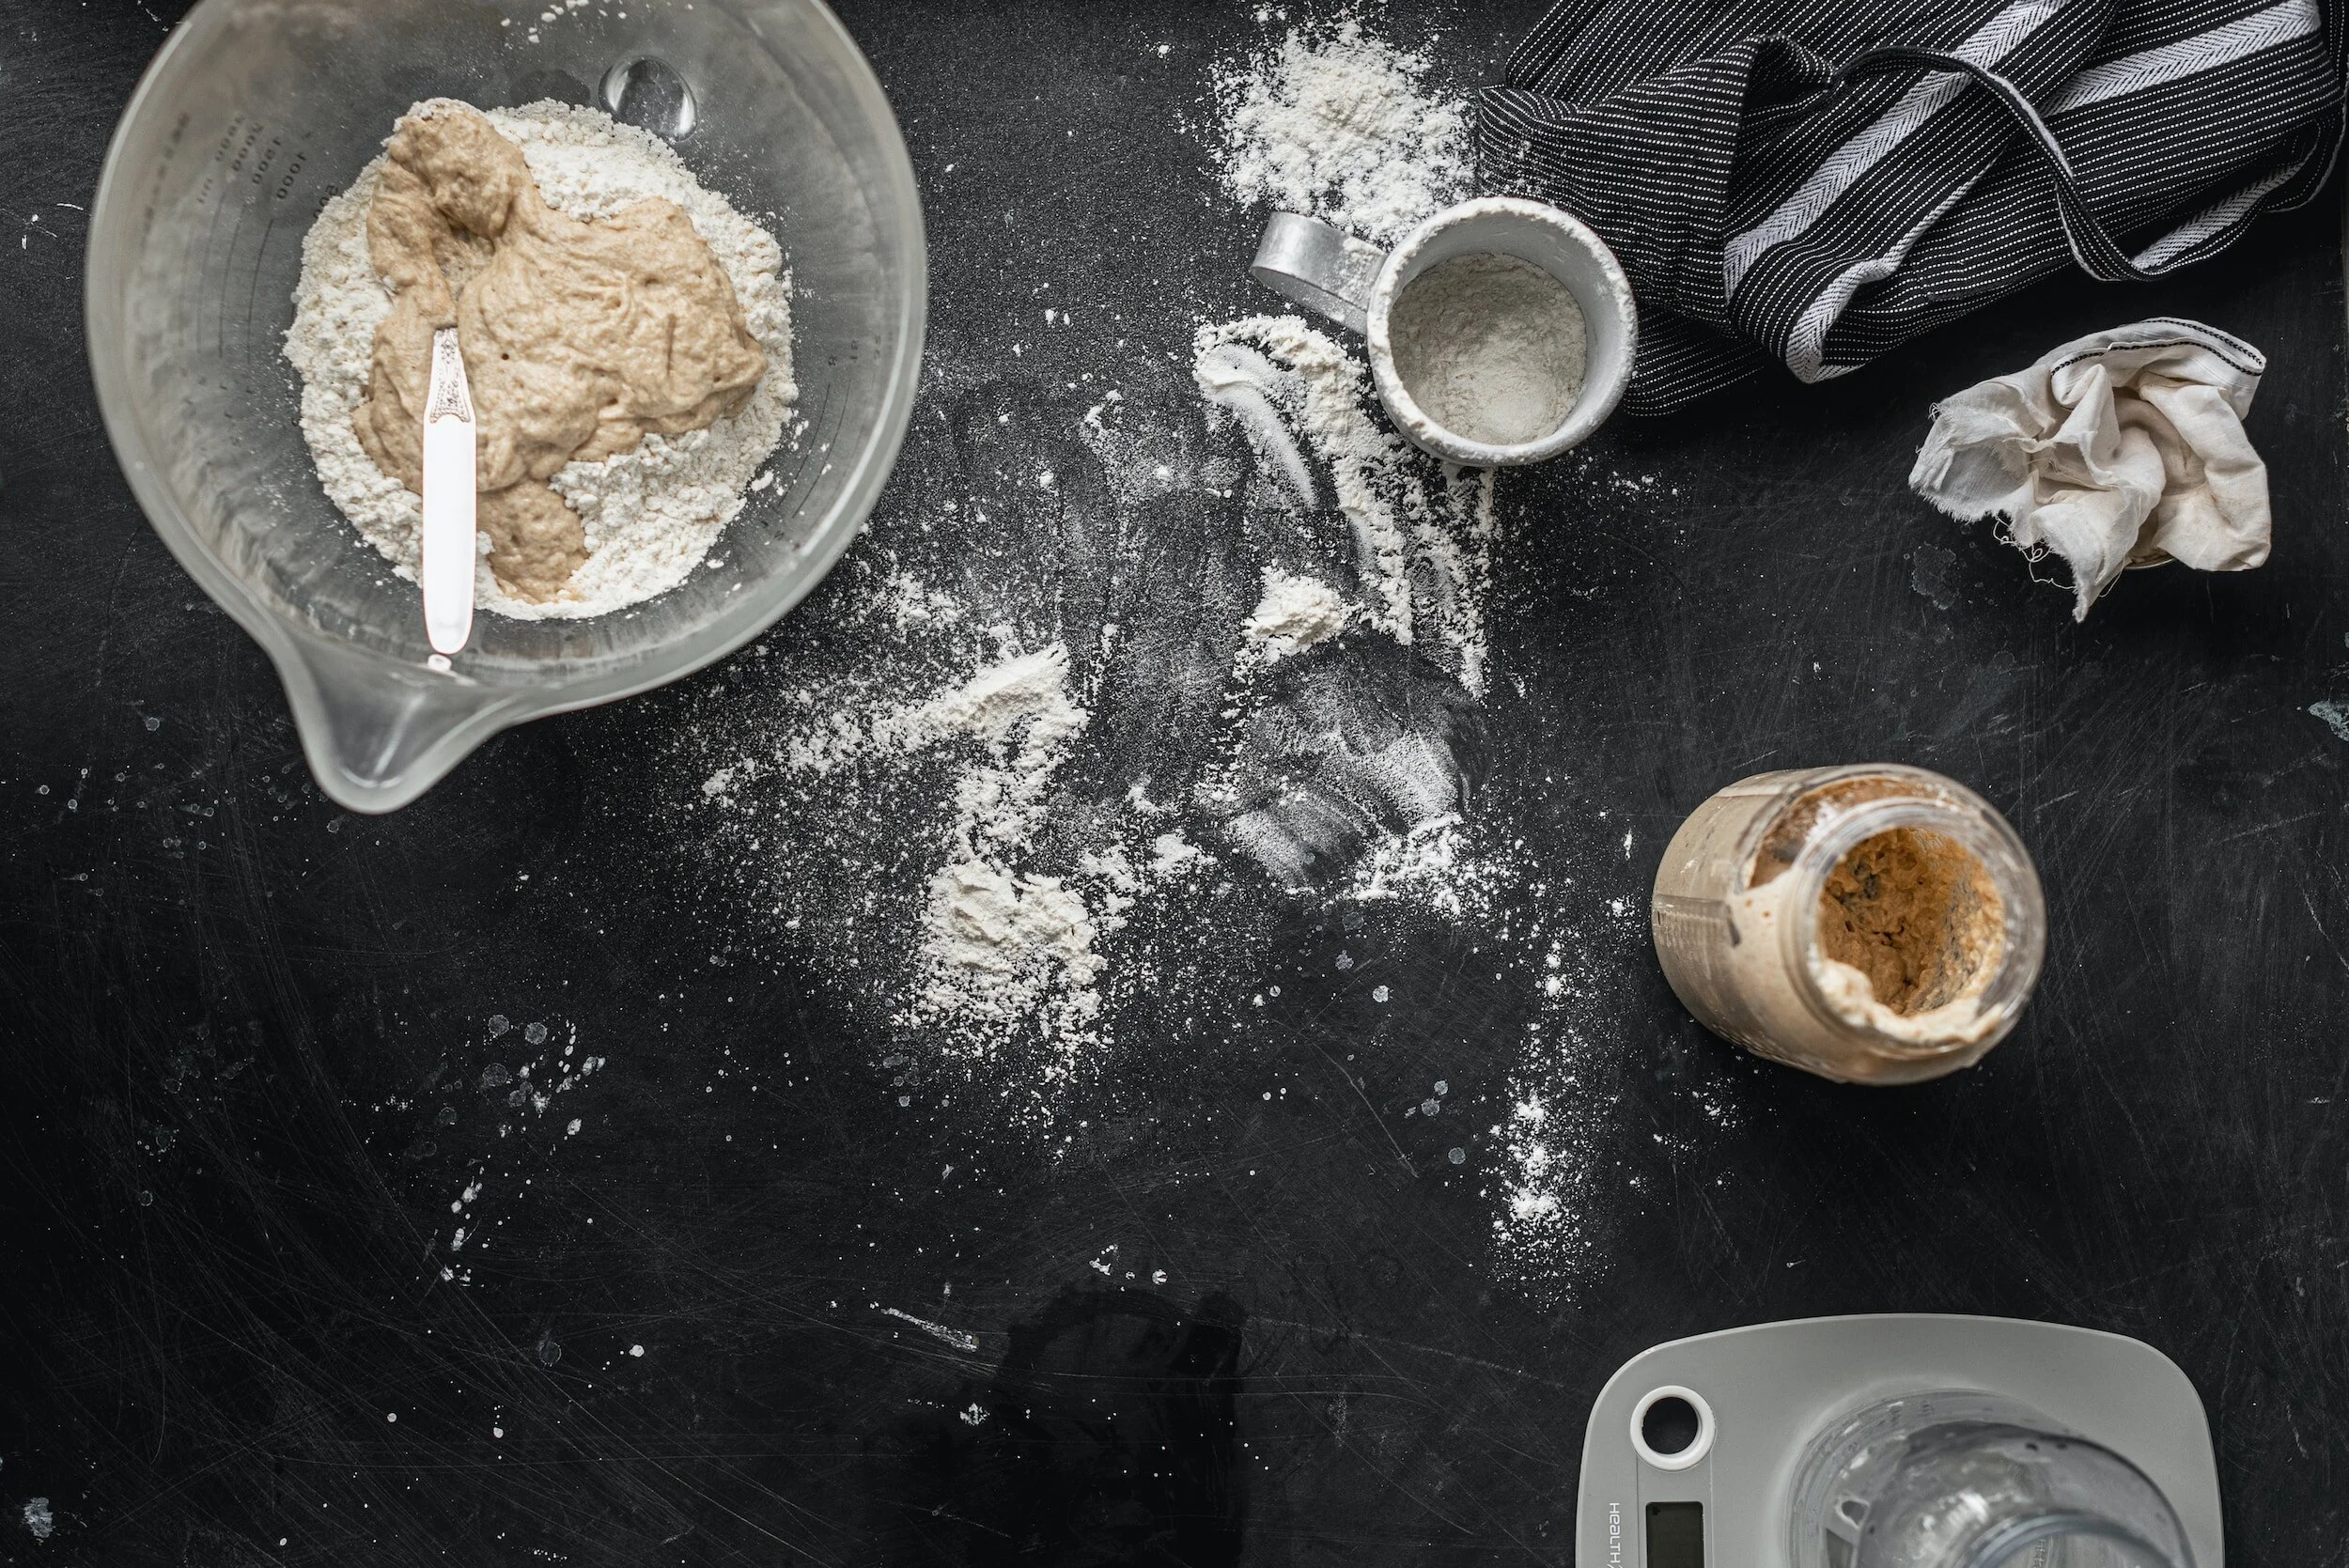
Scrape the contents of the starter jar (300g) into the mixing bowl. Add 300mls of water (room temperature) and mix gently. Add the contents of bag 2 (450g of organic strong white flour + 50g organic spelt flour) and the contents of bag 3 (12g sea salt) and combine.
Don’t be afraid of getting your hands dirty, combining the ingredients thoroughly is better done with hands than a spoon. Knead the mixture gently and continue until you can see the dough coming together and becoming stretchy. Place the dough back into the bowl and cover with the fabric cap from your proving basket, make sure it is wet and squeezed out so the dough doesn’t stick to it as it rises).
The room temperature will dictate the total bulk fermentation time, but you are aiming for the dough to increase in size by around 30%. At 26°C, total bulk fermentation time will be around 3-4 hours.
-
Your dough should now be taking shape and will need ’firming’ up.
Sprinkle some of the flour from bag 4 (organic rice flour) on the work surface. Use the dough scraper take the dough out of the bowl carefully and onto the dry, floured space on the work surface. Ensure there is enough flour on the work surface, so the dough doesn’t stick.
You need to begin to gently stretch the dough out to make a larger circle. Depending on the shape of the proving basket you have, it will determine the folds you perform. For example, if you are using a round basket, you will fold each edge into the centre, tucking it in to make a dome-type shape again.
Flour the proving basket (with bag 4) and gently lift the dough, cupping it with your hands, and then place into the proving basket. Cover the proving basket with the damp fabric cap.
Let the dough rest for a further 30 minutes, then hold back the development of the dough in the fridge overnight for around 12-18 hours. The cold temperature will slow down fermentation, but it will still allow bacterial activity so that the taste can be developed. When you remove the dough for baking, it will also retain a nice shape, making it much easier to handle.
-
1. Place the cast iron pot (or tin) in the oven and preheat for approx. 15 - 30 mins at around 250°C / 230°C Fan / Gas Mark 9.
2. Carefully remove the cast iron pot from the oven. Remove the bread from the fridge, just before baking. It will help add to the spring.
3. Gently remove the bread from the basket (the dough scraper might help if it’s a bit stuck anywhere) tip the bread seam-side down into the pot.
4. With your scoring blade held at a slight angle, score the bread in your chosen pattern (I usually do a simple X across the top).
5. Place the lid on immediately to keep the temperature high, and then put it back in the oven.
6. Bake at full temperature for 20 minutes.
7. Remove the lid, reduce the temperature to 190°C / 180°C Fan / Gas Mark 5, bake for a further 20 minutes.
-
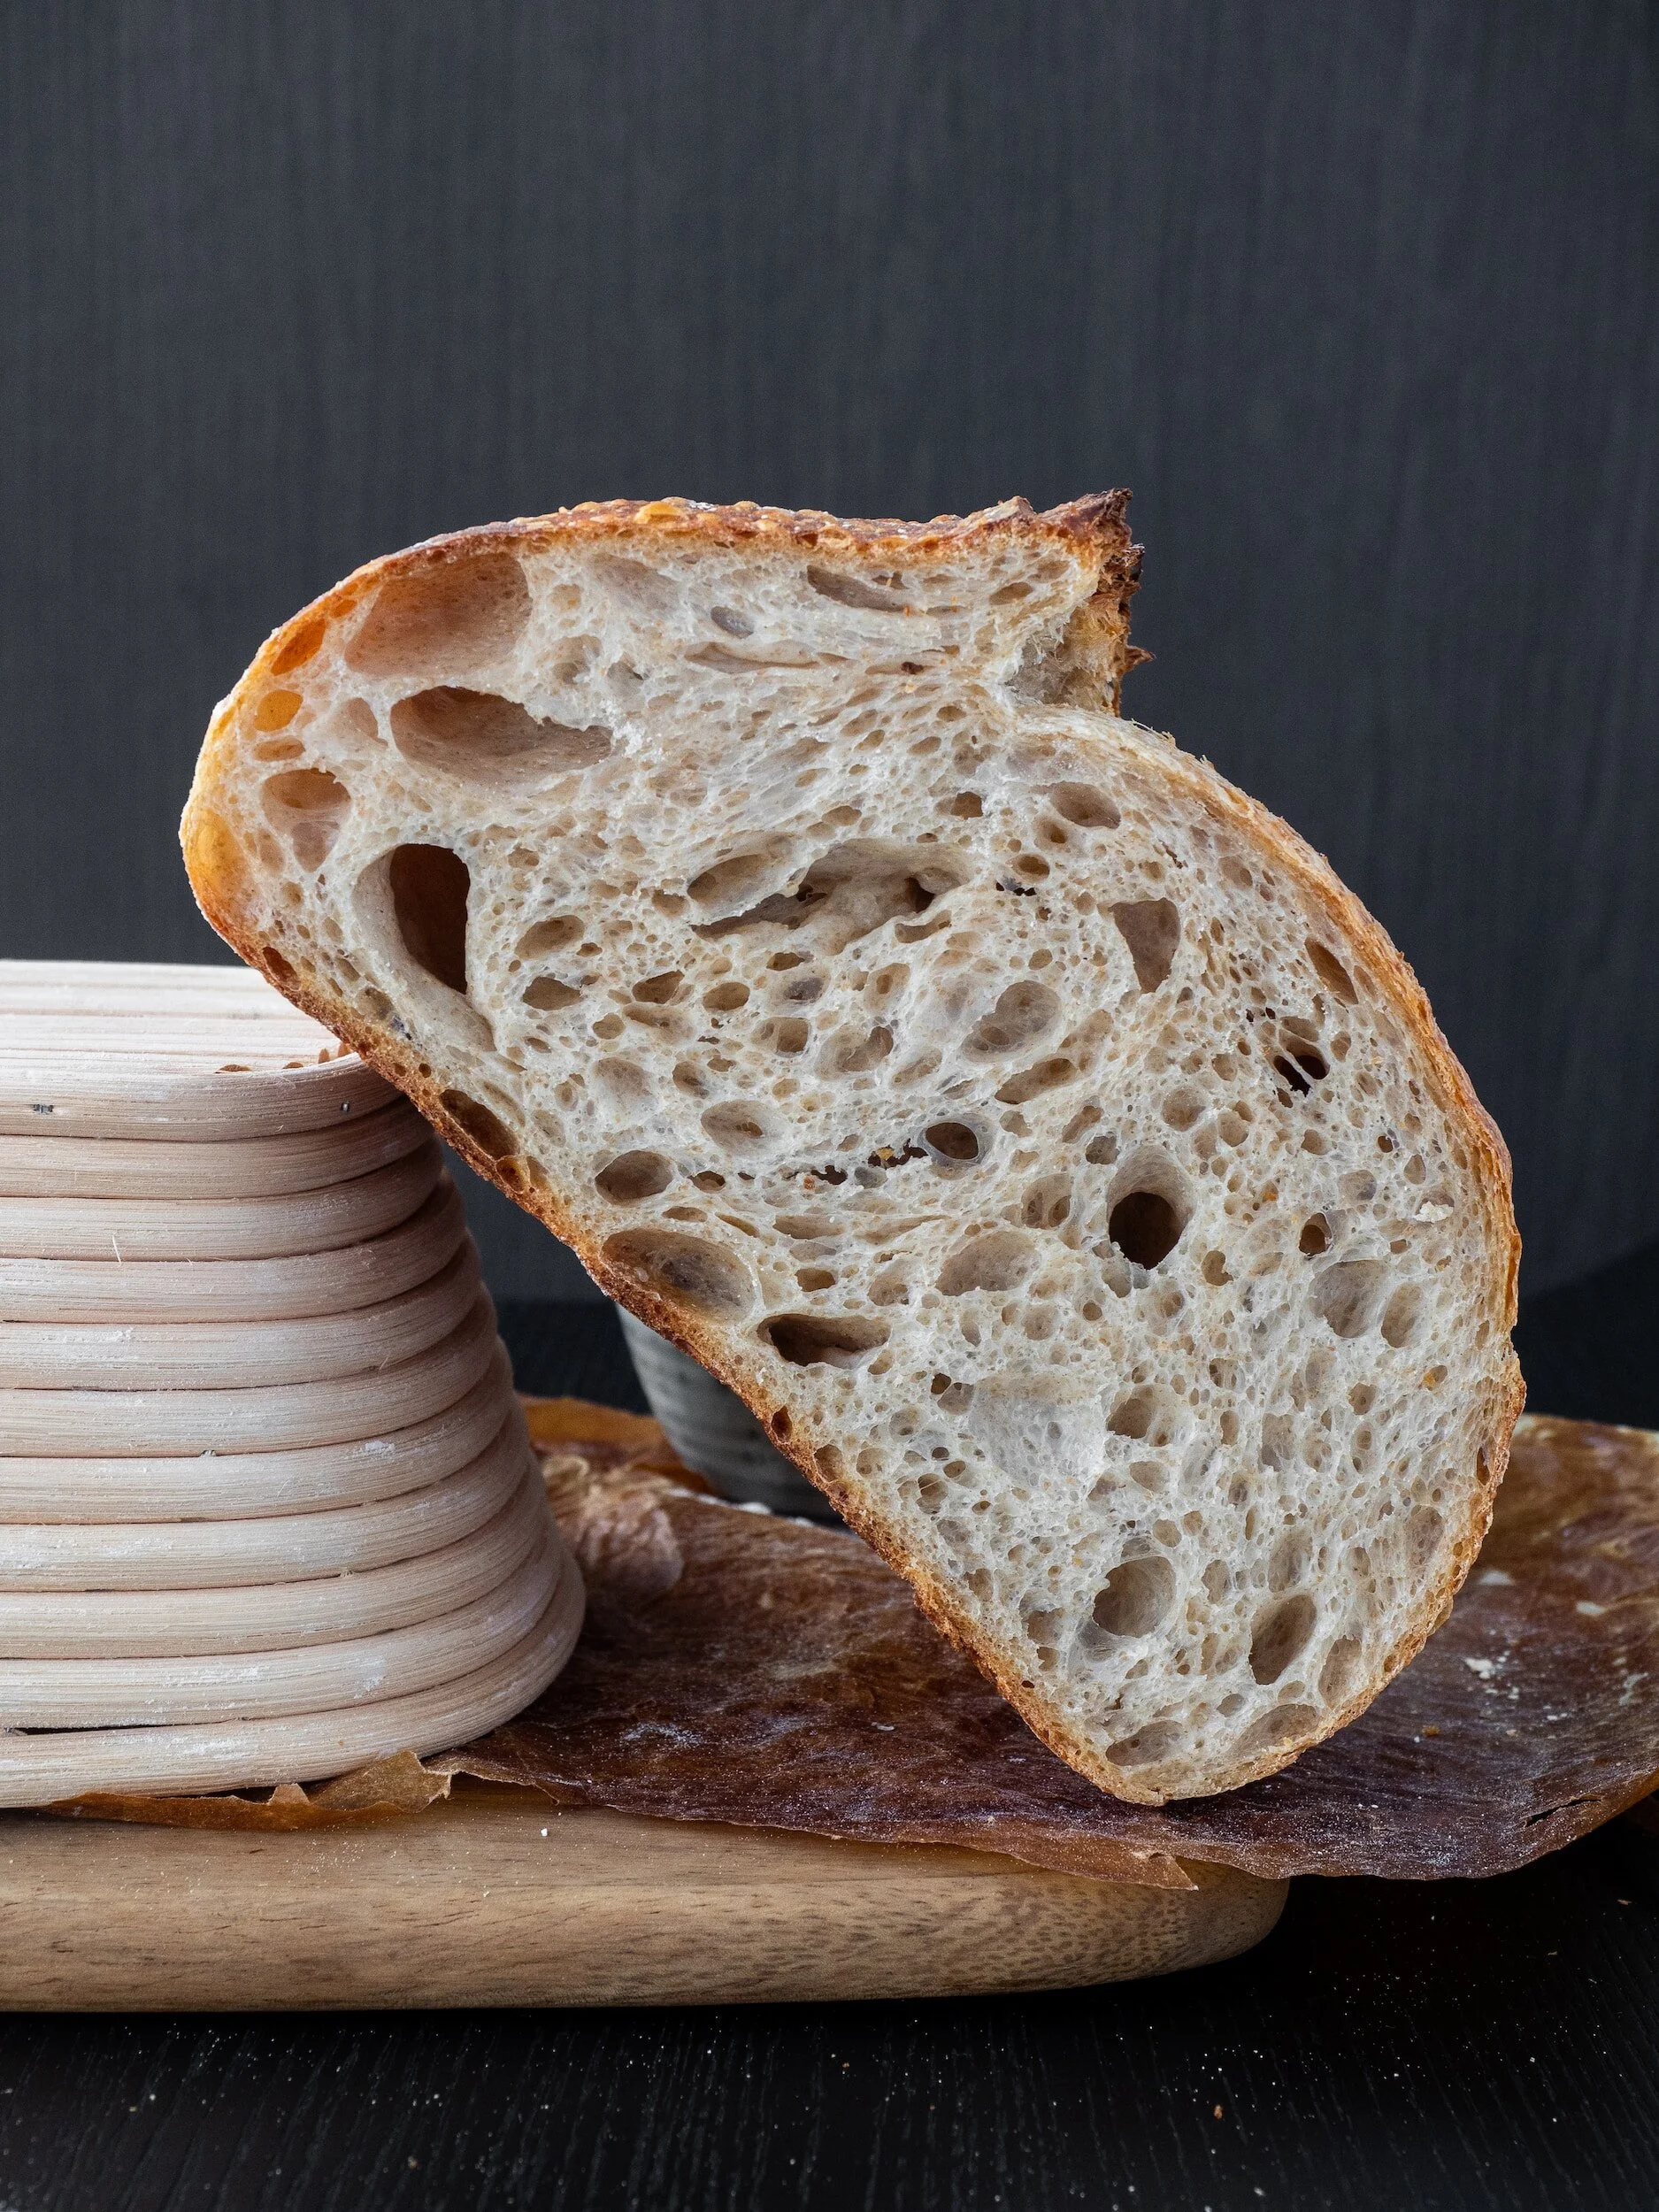
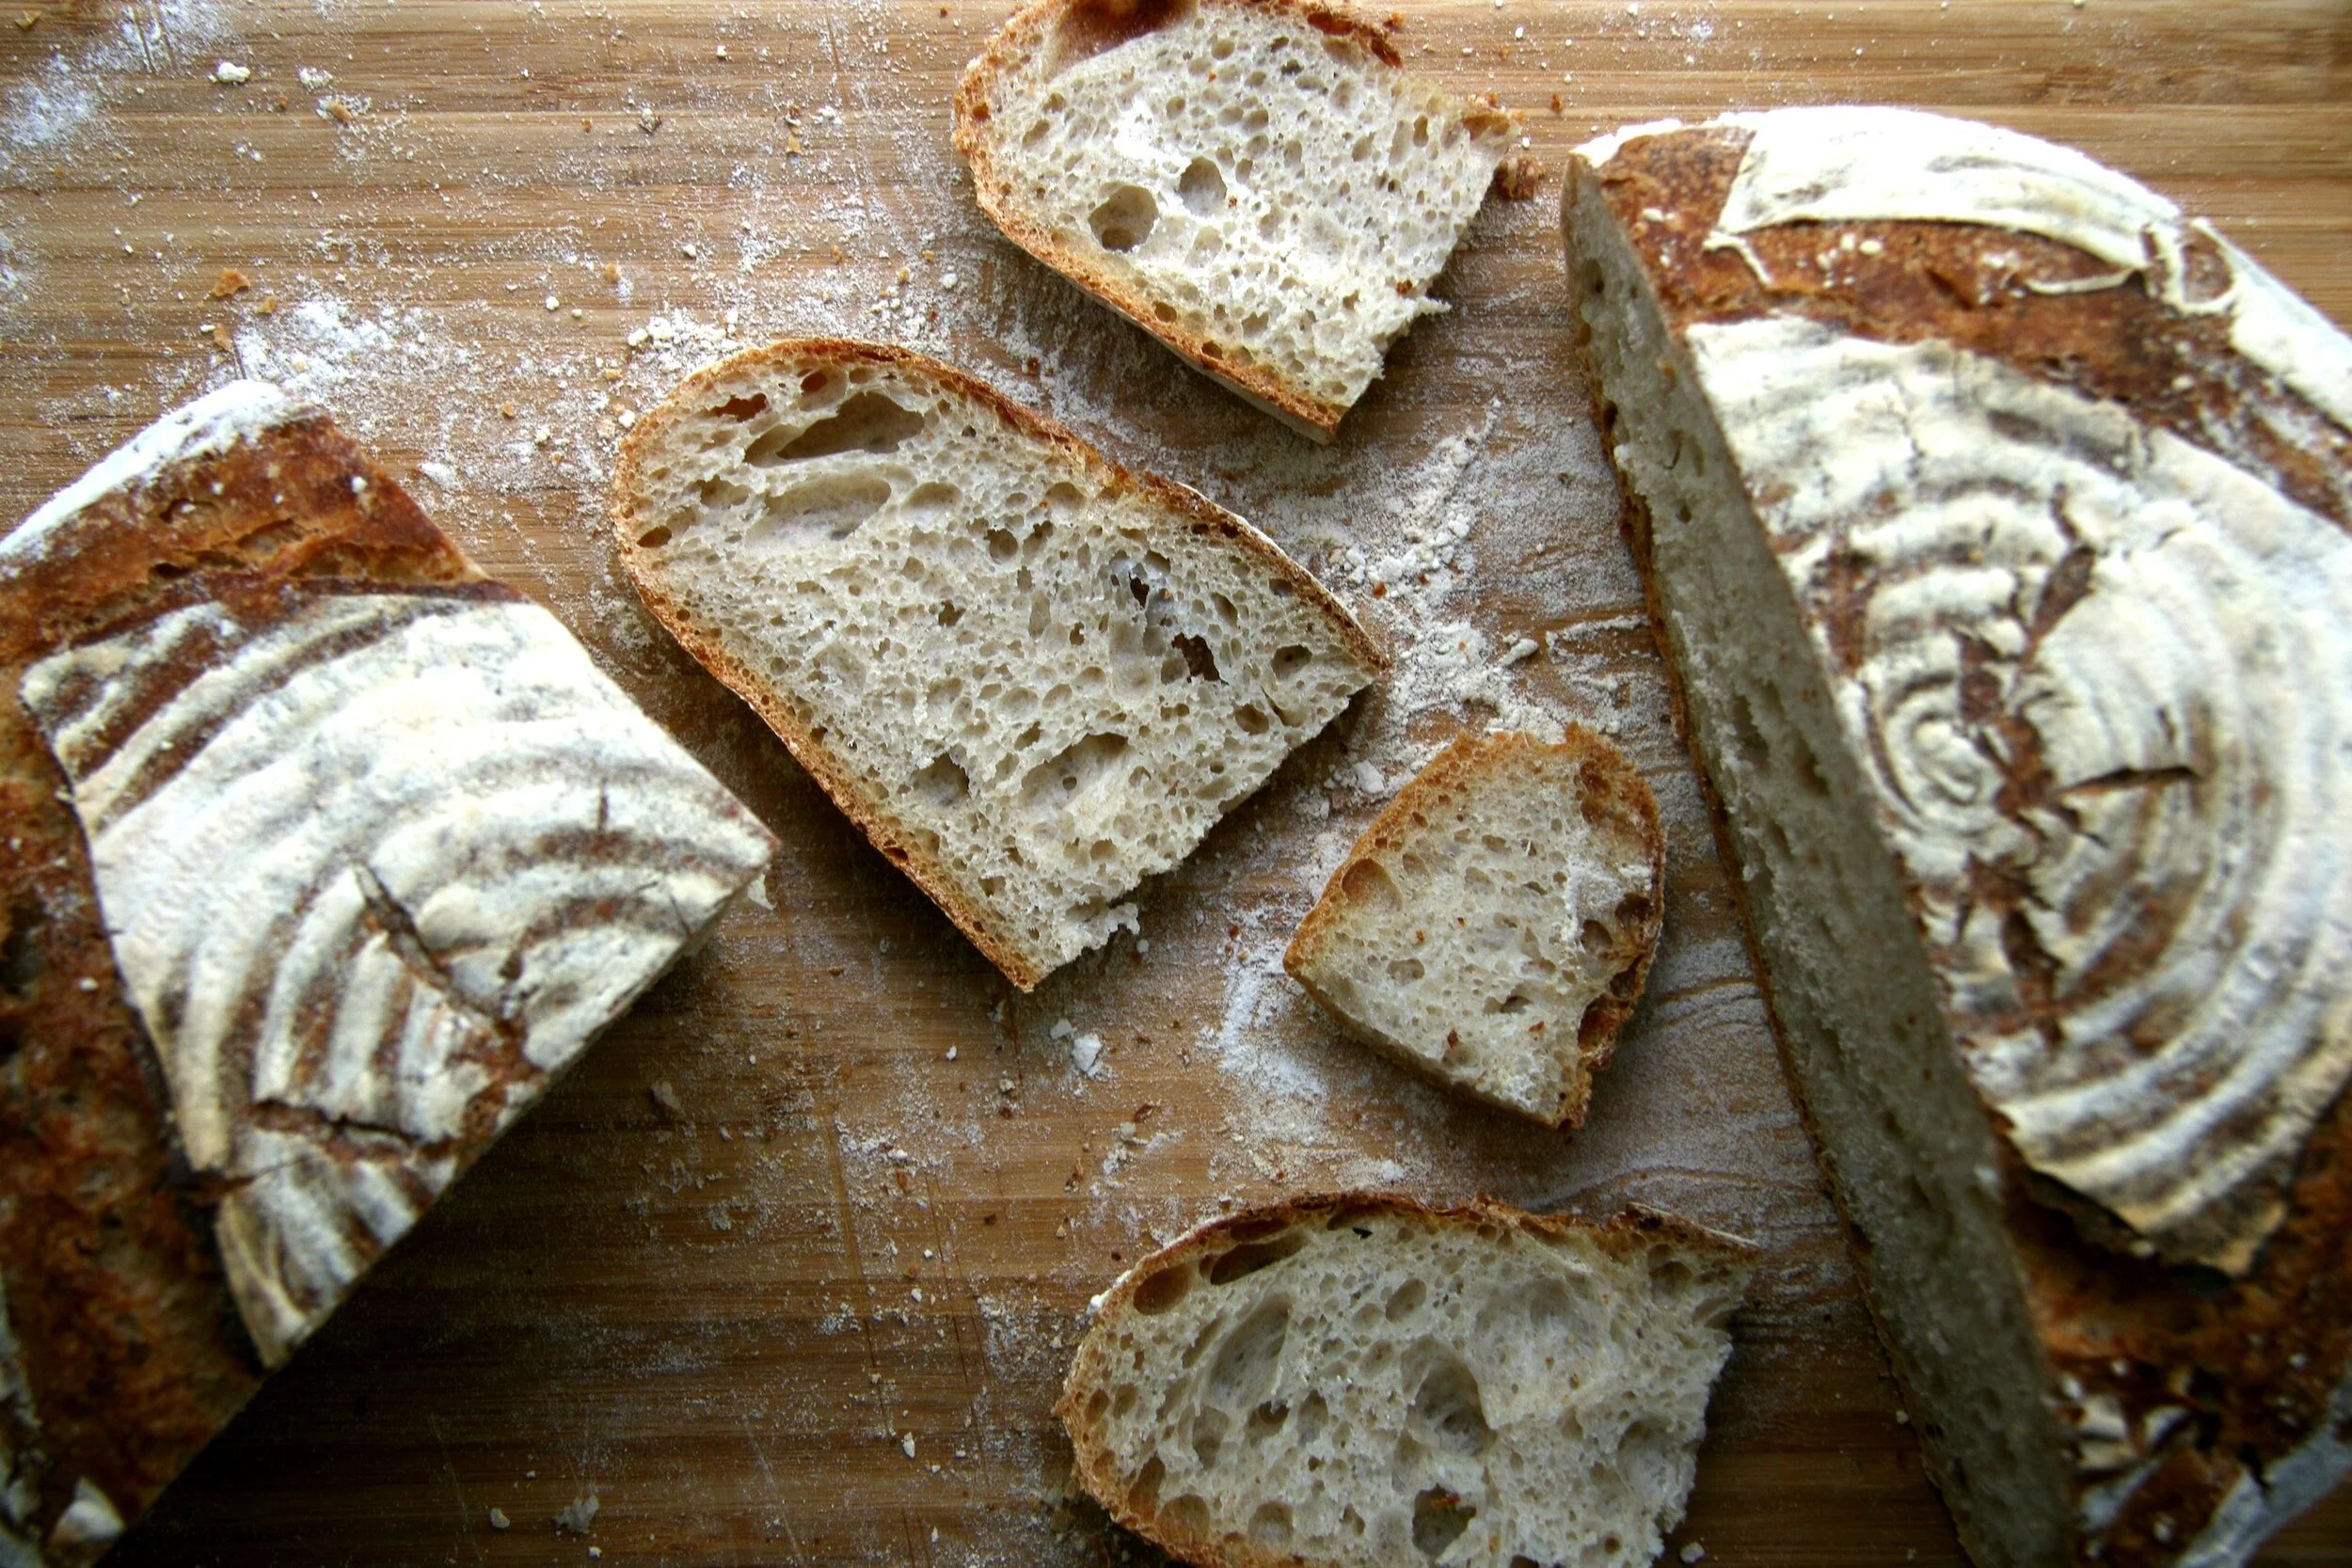
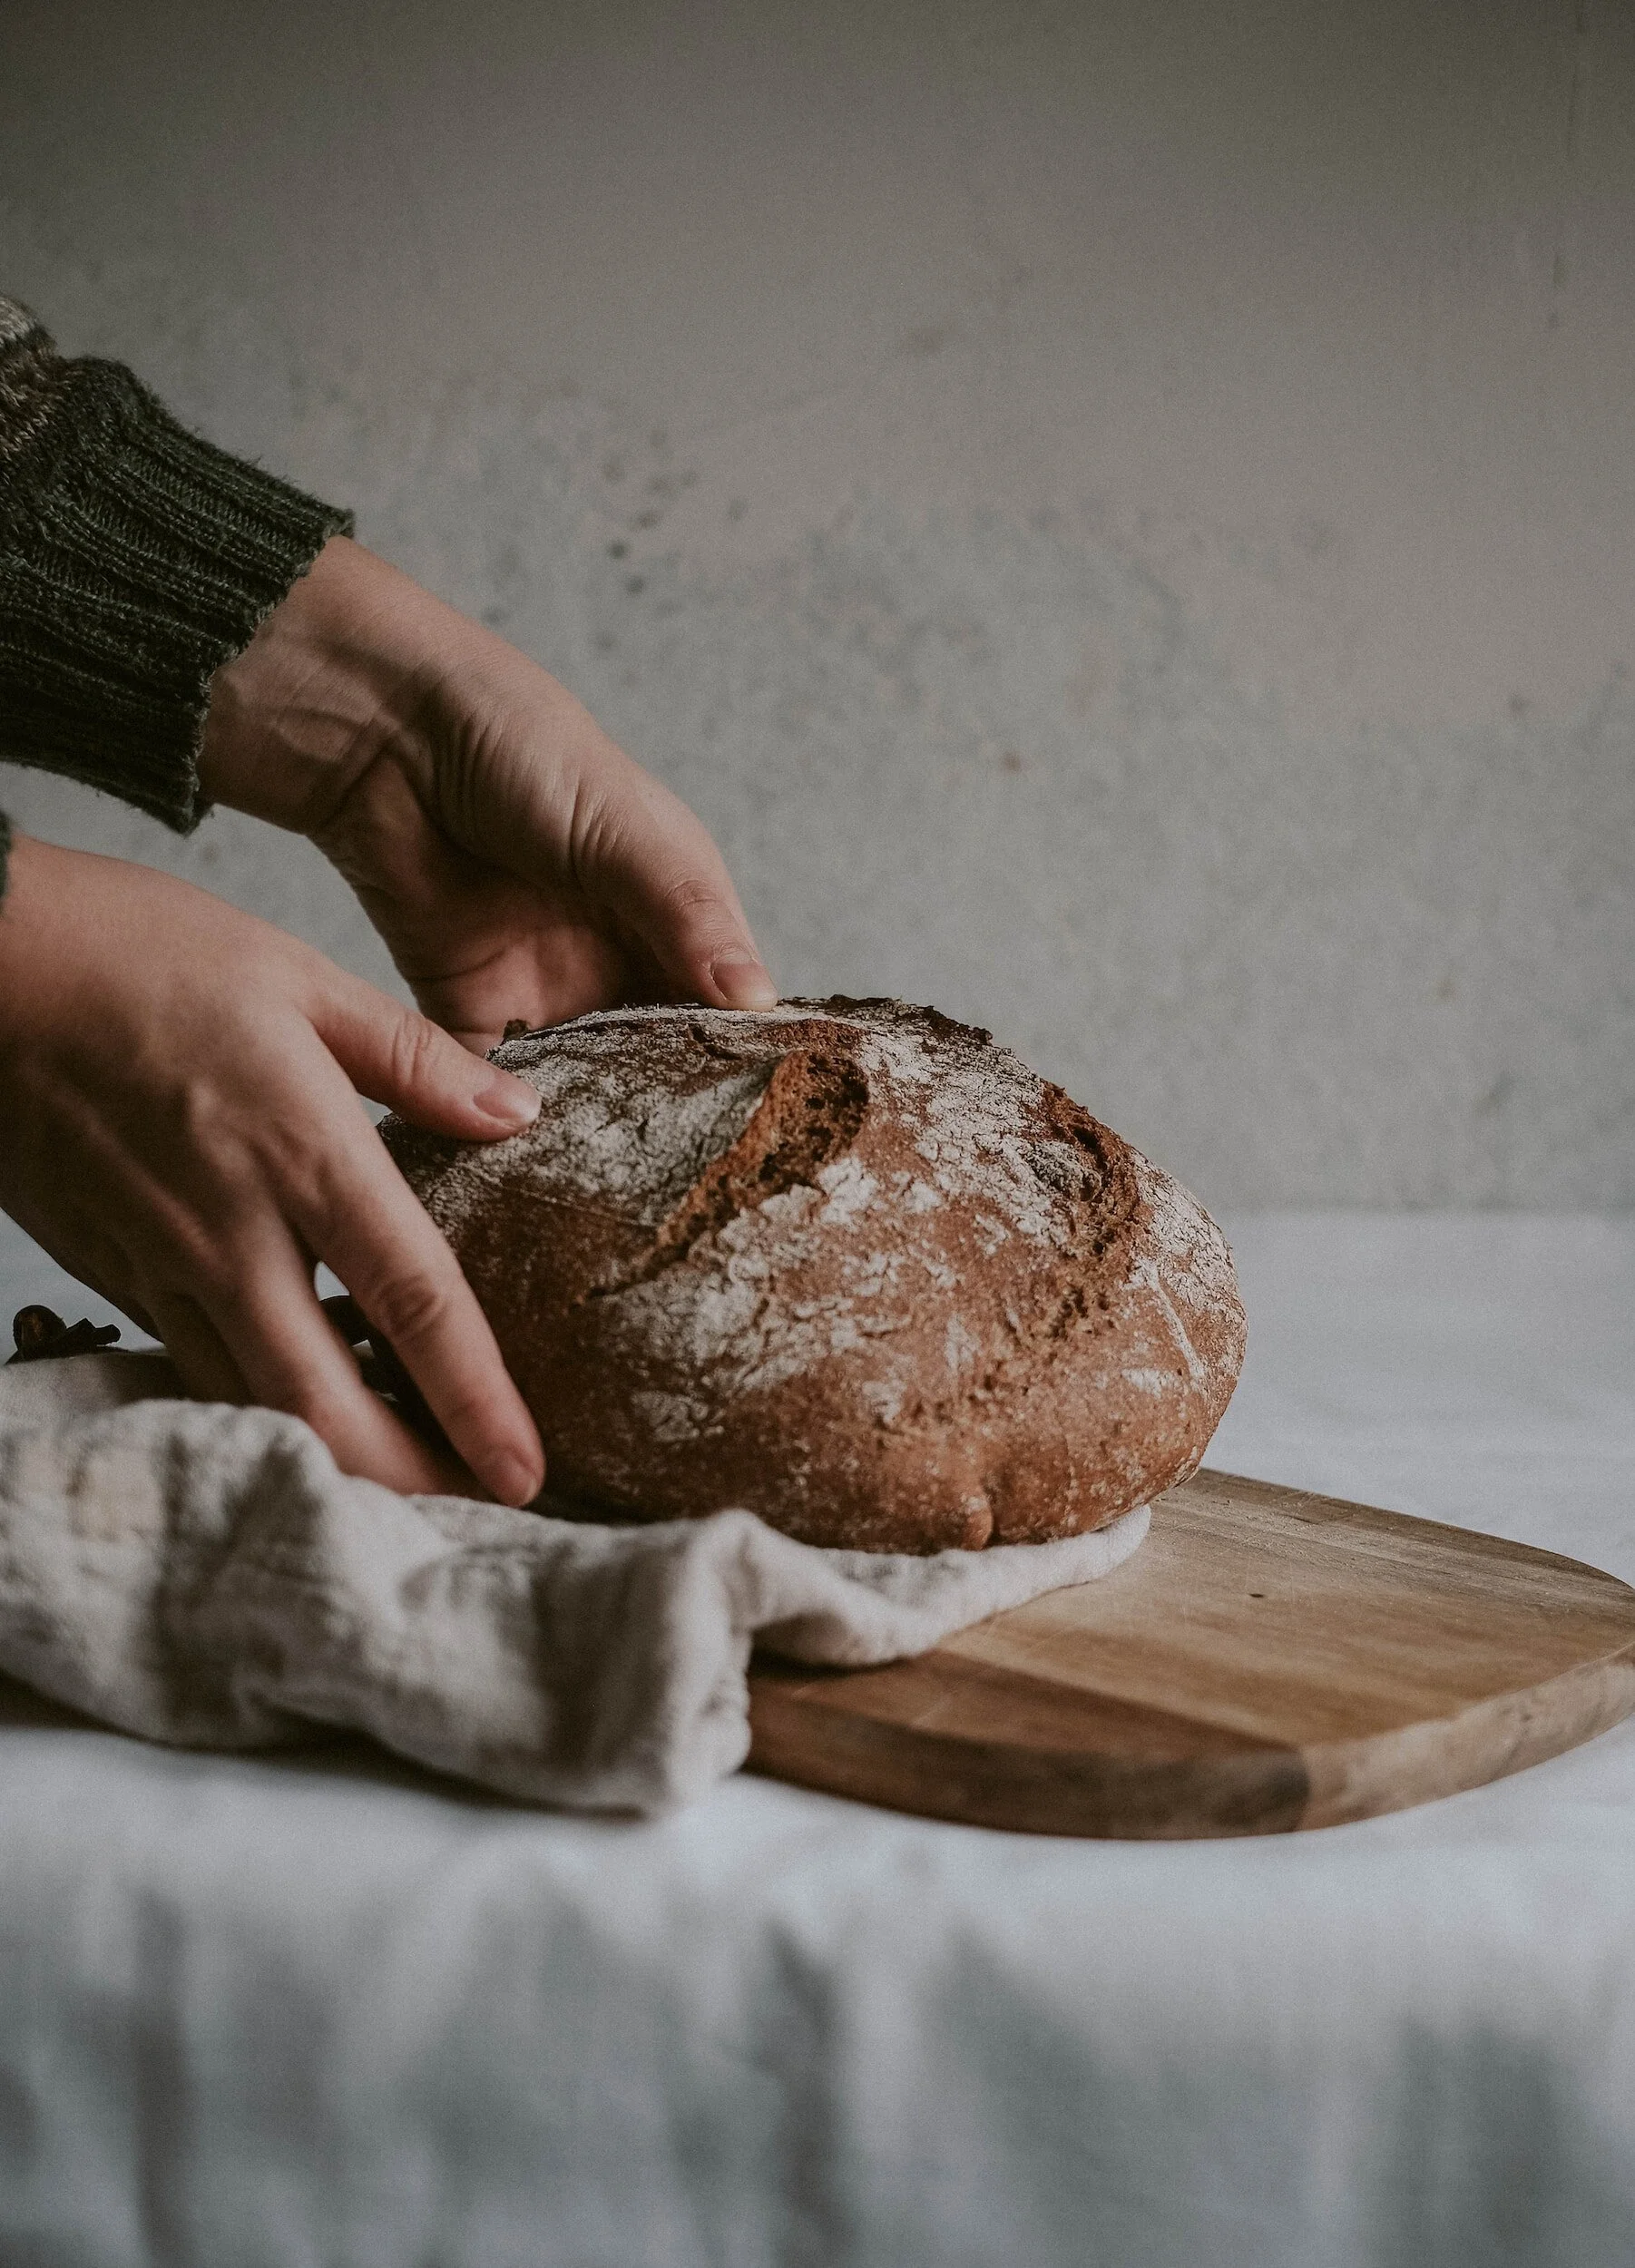
Remove the loaf from the cast iron pot and let cool on a wire rack. As the bread is cooling, it is still losing water, so leave the loaf until cold before slicing it, otherwise you will get a doughier centre.
Try and be patient - it’ll be worth the wait.
Enjoy!!